Tuesday, June 10, 2014

What I've Been Up To

Baby #4 is due next month and I've been nesting.
I don't remember nesting like this with the other boys... maybe I just am more aware of how little gets accomplished with a newborn and the drive is extra strong this time.

Whatever it is, I've liked how much has gotten done.

Things like putting dishes away and thinking, "This is not efficient. I need to change all of these cupboards" or "Those wires in the living room TV area drive me crazy. Has to be dealt with" or "we've been in this house two years and I never added the shoe shelves into the cubbies. Good grief it must be done today."

One project that I shoved forwards with was my closet.

I got a sewing machine for Christmas and wasn't sure what to do with it - to use it for little 4 minute repairs I need it to be easy to access. So I decided my closet was pleanty big enough for a sewing machine and clothing.

Within a week my closet was a crazy mess. Summer and winter things, sewing and craft and scrapbooking things, AND piles of maternity clothes stacked above the normal things I simply couldn't fit into. The closet which had once seemed large was now bursting like hoarders home.

It's not finished - but here is where I'm at.


And I got a baby cradle - my first, always wanted one, and arranged the bedroom to accomadate it. Got a new end table for $10 at Goodwill that would fit the printer underneith since we have to keep the router and printer and phone stuff all in the bedroom. It was time to hide all of that under a heavy square end table. I also got a $20 sheepskin at a overstock store in town because I wanted the baby area to feel special, even if it's not a full nursery. By the way, my bedroom walls are NOT green. They just look that way :)


I was going through the front door and realized how unhappy it was - 


At one point it had been different, for one thing, I had a collection of lanterns. But I gave away some and moved some here:


So I decided to do a super cheap makeover of the front door. For one thing, I want to spend money on other things - like storage bins to clean and sort the attic (my next project).

I found these planters on the curb 2 years ago. So they were free. We have pleanty of hostas in the backyard. So those were free. I bought the rug on clearance for $13. And that was the end of that - something simple but at least crisper/cleaner.

I put the black piano bench out to see if I'd like to have some sort of outdoor seating but I'm not sure... the whole thing is, with a screen door, there is no wow factor for a front door anyway. So I'd sort of like to remove it. But it is functional I suppose. So for now I just wont care much about curb appeal. Maybe next year or something.


I had a hutch, the partical board painted black cheap one, on the corner wall in the family room. But I've been keeping my eyes open for sturdy quality wood hutch. I needed it to be narrow and have two glass doors and shelves... I saw a few on Craigslist over the year but they were always $150+ and I wanted under $100. Also, it was hard to find one that was tall and thin for that small of a wall.

Well, I found one at a church garage sale and so that got put into the family room, and then the cheap black one became a baby dresser once again (I don't have quality dressers so sticky drawers have always annoyed me. Thus I prefer having my kids clothes in bins on shelves instead of tucked inside an old dresser)


This is where I'll abruptly end because hubby is here and it's time for bed!

Saturday, May 31, 2014

Dreamy kid fort

I tend to like kid things that are eye-pleasing to an adult too. This would be the ideal kids fort for my yard:

http://www.thehandmadehome.net/wordpress/wp-content/uploads/2014/05/backyard_conversations.jpg

Sunday, May 25, 2014

Sharing Inspiration

This post is for a friend - gathering together some photos and opinions for creating a home. I thought I'd do it on this blog so that I can access the organized ideas in the future!

FIRST,
I'm not convinced that a house must be decorated fully in the style of the architect. Some elements should flow, but overall, you're not limited to exactly one fit. One example is the blend of rustic and industrial - which could fit a cottage home or apartment or bungalow or farmhouse. Modern can mix into traditional, and cottage and blend with classic. Here is a photo to think about:


The light fixture is elegant, the bedspread is plain, the art is funky-antique, the chairs are classic, the lamp is mid-century modern? and window treatment could be boho. Yet it fits together just fine and I think the ceiling is what makes it a lovely room. I feel like this room could mix with a variety of interiors. So choose the style that you love, that reflects your personality and the functionality of your family, and then blend it with the exterior style. It'll work out well (in my opinion!)

Also, here is an article on what paint colors go with wood trim. It's at least an interesting read: http://www.bhg.com/blogs/better-homes-and-gardens-style-blog/2014/02/26/paint-colors-for-rooms-trimmed-with-wood/

SECOND
I have two home inspirations to share. Flicking through these home tours really speak to me, but for different reasons. Here is the first:

http://www.homeplans.com/plan-detail/HOMEPW76449/dazzling-cape-cod-with-spectacular-living-space

This home has quality and simplicity mixed with beauty in the details. I think it would be a fantastic home to take style ideas from. The batten-board wall treatment, beams on the ceiling, and great lighting make this home so striking even though it's comfortable and simplistic. This is a design style that would be so easy to call home. To live with. To change around for seasonal decorating if desired.

Here is another house that makes me smile:

http://hiyapapaya.com/blog/archives/1609

This house is busy with color. It is bursting with fun. I love simplicity but this house reminds me how playful a home can be.

This is one of my dream rooms:

I love the beauty of the quality floors and the simple colors with striking contrast... but it's not practical for a family...but my take-away is to remember that shapes and scale and architectural character  are what bring beauty.

Also, to wallpaper small areas - like a bathroom - is something I like:

And - I really love this light fixture from Lowes. Would set the tone of a pretty amazing diningroom!

http://www.lowes.com/pd_511350-43501-FD13-033_0__?productId=50096172&Ntt=18+light&pl=1&currentURL=%3FNtt%3D18%2Blight&facetInfo=

Which is a cheaper version of this:


For that home in particular, Restoration Hardware would be a great place for inspiration - order a catalog and drool over the beauty of neutrals!


The attic will be a super fun place to decorate... update the bathroom and it'll be like a luxurious get-away for your guests!

These wooden walls are fun with the rustic pop of color:
teen room floor ideas for teenage retreat

But I love classic white too:

gray and white bedroom

Here is a mix of classic and color (I love this light gray paint btw) that impresses me - for example, would you have ever thought to pair that rug (size and color) with this table and chairs?

Modern but comfortable. Simple but punchy.
This picture reminds me that there should be some repetition (all matching chairs in this picture, with yellow pulled throughout the room) but that you can get by with mixing up a lot.

LAST thoughts... the kitchen... I'm liking the marble backsplash, neutral and beautiful but not loads of color in the backsplash... sometimes the herringbone pattern is nice. I like gray cupboards like these:


 White is my favorite for a kitchen. Simple fresh bright and classic. I don't get tired of white kitchens - though I kind of like the Island being a different color:


And I like glass doors on at least some cupboards


Refurbished Islands can be cool:


I like ones with the refurbished wood on the existing island - cheaper than replacing the island:


 Or another example:

(Sarah Richardson kitchen design)

The whole reclaimed wood look is super fun:

 http://houserevivals.blogspot.com/2012/07/how-to-use-reclaimed-wood-in-your-home.html


And here is a fun kitchen - such a mix and looks so welcoming


Here is an article to skim for kitchen renovation ideas:
http://www.centsationalgirl.com/2014/01/kitchen-trends-here-to-stay/

Happy Planning!!!

Tuesday, May 13, 2014

Teepee!

Although I've daydreamed about some fun forts - the cost and time and effort of building a structure for my sons seemed not worth it. The trampoline and sandbox have been pretty great and they can have fun building temporary created little forts in the woods. Making your own is a fond memory of my childhood. But when Tristan announced that he wanted a Native American birthday party (after learning about Illinois Indians in History class) I started imagining a teepee. What a fun place for boys to have adventures, and much more DIY friendly (timewise and budgetwise) than a big fort.

Of course I needed my parents to visit before undertaking such a task.


First step, 8' boards. They were under $2 each. My dad drilled holes in the top and halfway down. I laced them together at the top with wire and rope and tied rope through and around the middle holes to keep everything all in place and evenly spaced.

Then we measured the bottom, up two feet, up two more feet, and sketched out the dimensions for the fabric. The cloth was 1. Painters cloth from Lowes, about $10 2. A heavy silky tan sheet from Goodwill $4 and 3. A thick flannelish gray sheet from Goodwill 1/2 price for $2 and a matching pillowcase for $.50

All together supplies cost:
boards = $11
rope = $5
fabric = $16.50

Total = $32.50

We also used an old Karate belt for the sides of the door.
I decorated the top with a stretchy hairband and some necklaces and a dreamcatcher that I already had.

This is how it turned out:

 At the very top of the teepee we used a old pair of boys size 2 sweatpants and cut out the elastic. Mom sewed the pillowcase with elastic at the top and connected the bottom to the panels of fabric.  The door was our leftover piece of painters cloth with karate uniform belts for a heavy edge.

The fabric isn't crazy tight, because measurements weren't totally perfect - which was fine with me. I like the soft loose freedom of the fully functioning teepee and it wasn't worth stressing about refitting and repinning and getting everything exact. It took my sweet mother a lot of time and work, and she is good with sewing to start with, but overall I don't think you have huge experience (but maybe a good dose of patience) for creating a teepee. And without stripes it would be simpler too. But it's not like a dress where it has to fit exactly. The teepee is reasonably forgiving. 

Here is the rest of the party:


 Feathers added to the glass jars and signs added to the square wreath:


And the cupcakes were little teepees - baked in a sugar cone.


We had balloons on our table-tree and lots of decorative games:


Fun party - thank you mom and dad for (yet again) making my wishes come true!

Thursday, April 17, 2014

Dining Room Re-do

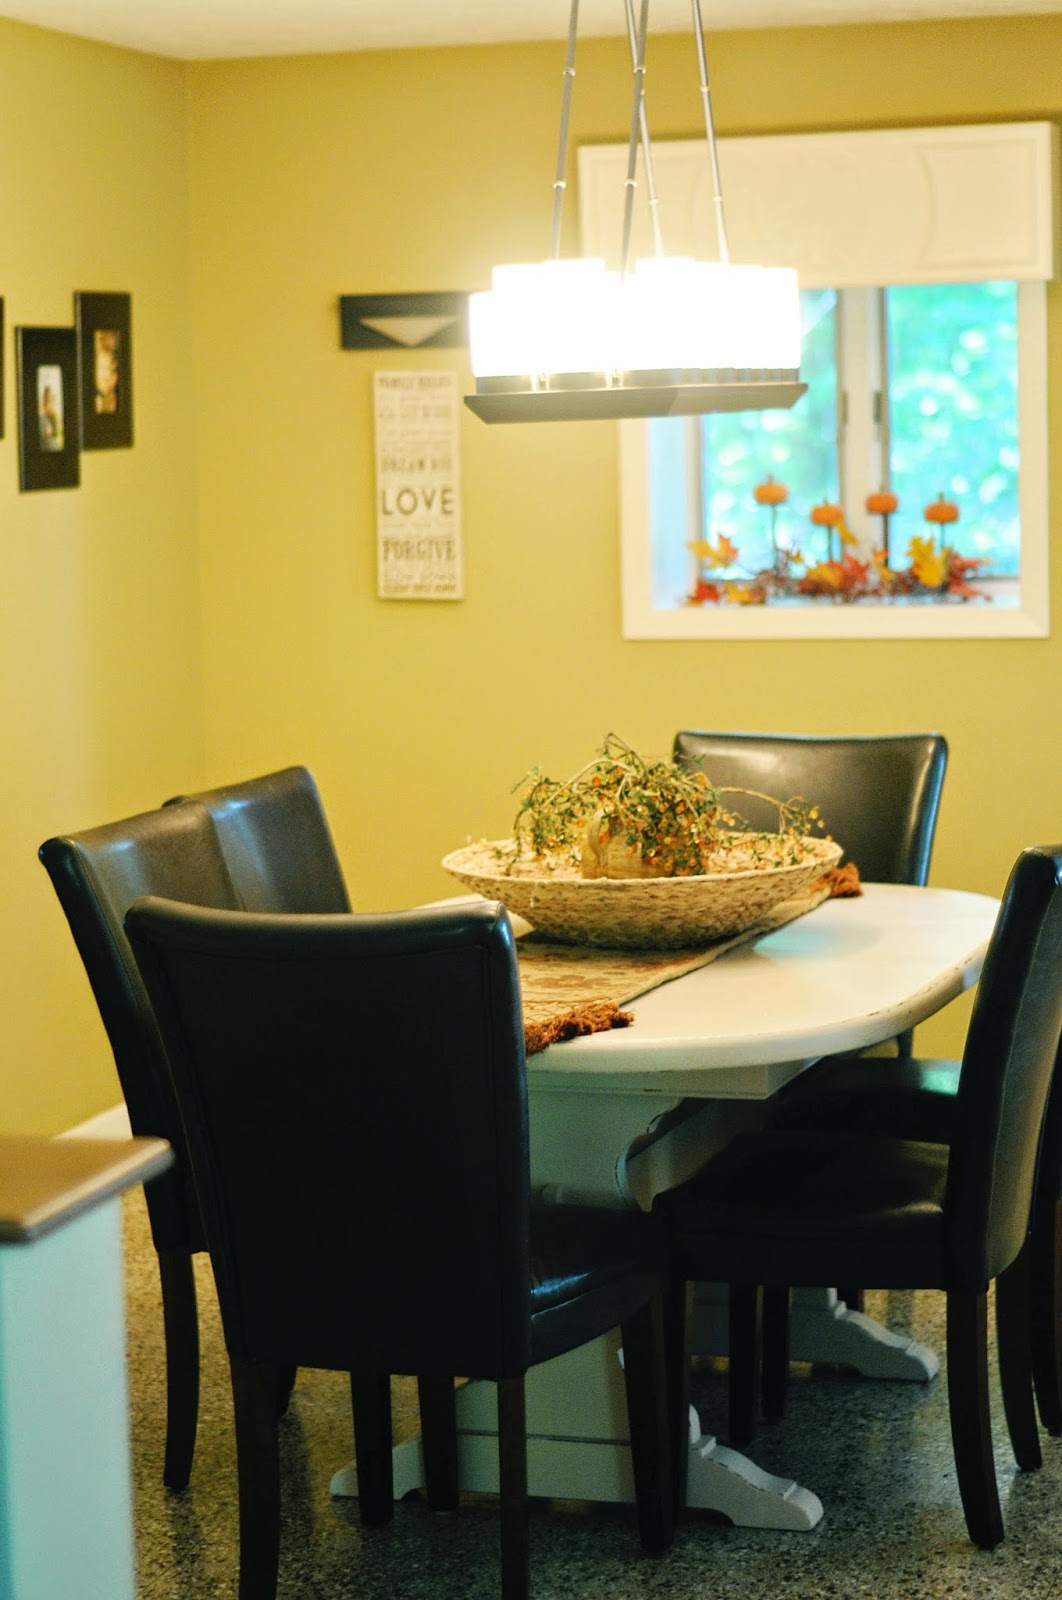
This is how the dining room looked when we bought the house:


We changed out the light almost right away. - and I painted the wall sconces to blend with the new light. I found this table off the curb for free and was able to fix and paint it. It was a good table except that there were no leaves. So it could seat six and that was that.


So, with help from a handy guy at our church, we took the top off the table and used 10 ft boards (cut down to 9ft) to make a BIG dining table. We kept the table legs, but replaced the bar in between the two legs (a longer board so that it would fit the new table proportion.


The old legs and new boards mixed rather nicely together.

I tried a variety of methods to "age" the fresh wood.
I did a vinegar rub, soaked steel wool, used baking soda in the sunlight... since it was bitterly cold out I'm not sure how much sun actually worked on the wood tone. Then I used a few shades of gray paint and sort of smeared some on the wood and rubbed it off. I used a stain that was called "weathered oak" (there were a couple that I was torn between - all sort of an aged looking stain).

The overall finish is something I am happy with. The varnish I sealed it with is too glossy, so eventually I'll rub some matte finish on top. But for now I'm moving on and we can easily seat 10-14 persons.

It was cheaper for me to buy a bench than to get two more of the parsons chairs. I was really happy with this choice because the bench has been so completely useful for the boys. They climb on and off and pile on at dinnertime and I don't have to remind them to not tip the chairs or slide them in and out!


The rug wasn't exactly what I had in mind... actually I wanted industrial metal chairs too. But there was no point in changing out things that were available (I can work with this and made more financial sense), and the hard cold metal ones might look good but not as comfortable anyway.

I sold my rug on Craigslist and chose this because it was 60% off, which made it less than half the price of all my other options. The scale is good, and I don't mind the pattern, and overall, we have a dining room that can seat a large crowd - which is important for our family!


I'm loving the ability to have our whole family WITH a whole guest family, all at the same table. We do a lot of hosting, and gathering around a table of food is such a special part of a home that I want my kids to be included at the table when possible.

The dining room is an important room for us. I remember the Realtor saying that dining rooms are not used very often but I knew it was an essential for us. It might not be exactly my top choice - but for working within my budget, I am very happy about this room! AND - a few weeks later I sold these wood chairs for $50 and bought these chairs (with higher backs) for $20. They were fairly ugly with stained white fabric seats, but I painted them blue and painted the seats gray. I don't love painted fabric, and one day I'll probably recover them, but for the meantime, it's easy and functional. Works just fine and looks loads better. And I really wanted end chairs that were the right scale - and this way it ties in the blue in the rug too.

Here is the finishing touch for this dining room:


Wednesday, December 11, 2013

Christmas 2013


It's Christmas.

I like my chalkboard wall. It's still feels like a simple clutter-free way to decorate.


After I took the photo I added a magnetic calendar over the yellow chair. My friend had made a beautiful one at her house, and I wanted one too. Her's had a rustic red frame and was extra large - both made it look rich and more striking.

However, I opted for a cheap version. I went to GoodWill and found this for $3.99


And I put on command strips, flipped it over and stuck it on my wall. I used magic marker to outline the edges and bought the number stickers and nativity stickers at Hobby Lobby. I cut the tip off one of my star ornaments and hot glued it to a magnet. And this is the result:


Sorry the picture is a little blurry - the sticker details don't show well. But I'm happy with it.


I was low on decore for the tree, so I used some butterflies that will soon go to the Church Girl bathroom. I took leftover fabric from the chairs and put them in the frame and attached the butterflies. I also found $2 packet of name tag butterflies that I added to the tree.


And the matching chairs:


The livingroom as a whole:


In the kitchen I put two wreaths on the window and Tristan's nativity art:


In the Dining Room are the three trees on the windowsill.


And on the front door the wreath my mom made me. I love this wreath because it works for all winter long, not just Christmas. I simply left out any red, and that makes it winter vs. Christmas. I had these sage & white green floral things that my bridesmaids carried, and it was nice to find a place for them in my home.


And that's a tour of the Christmas decore!